Create a workspace
A workspace is a container with its own members and its own published address. One per class, per subject, or per school — whatever you would keep separate.
- Click the workspace name at the top of the left rail
The switcher opens with everything you belong to.
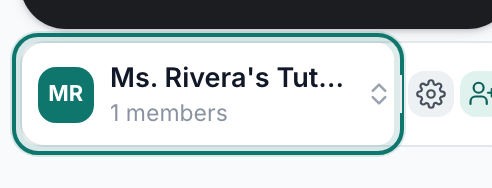
The workspace name at the top of the rail opens the switcher.v2026-09-01 - Choose New workspace
New workspace is pinned to the bottom of the switcher, so it stays in reach however many workspaces you belong to. Join an existing workspace is beside it, for when someone has sent you one.
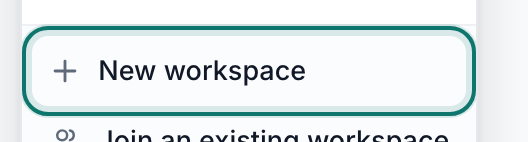
New workspace is pinned to the foot of the switcher.v2026-09-01 - Name it
Name it the way you would say it out loud — "Ms. Rivera's Tutoring" beats "tutoring-2026".
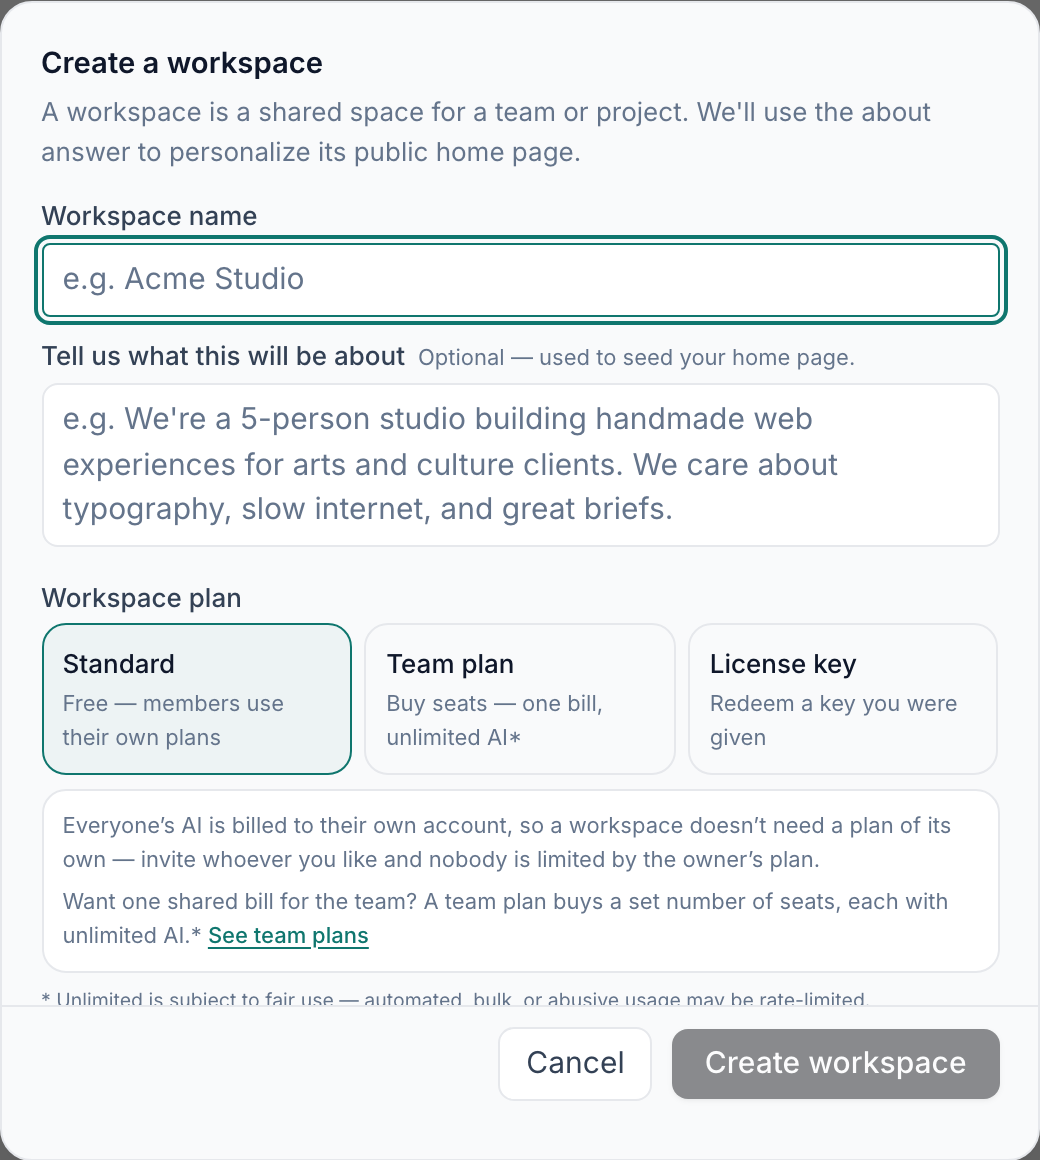
Name it the way you would say it out loud.v2026-09-01 - Press Create
The black button at the top of the rail. Everything you make starts here.
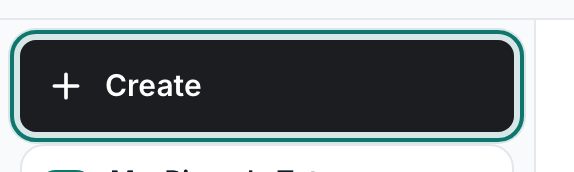
Create — everything new starts here.v2026-09-01 - Choose New Folder
New Folder is in the lower group of the menu. Ms. Rivera makes two: Grade 6 Math and Grade 7 Science.

New Folder — subjects live as folders.v2026-09-01 - Nothing is public yet
A workspace is private until you publish something out of it. Adding members is the next page.
Your personal workspace already works for private drafts. Make a second one when other people need in.